


How to install Crexis WordPress theme?
There are two ways to install the theme:
- The default way: using just the WordPress dashboard.
- The FTP way: using an FTP client like FileZilla.
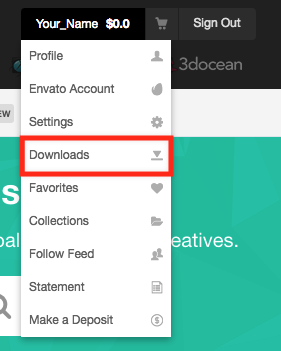
Each method is well described below. Despite which you choose, you need to download the theme files if you haven't done so already. To do that, log in to your ThemeForest account and navigate to the "Downloads" tab:
A list of your purchased items will appear. Find the "Crexis" theme and click on the "Downloads" button on the right. A dropdown list will appear:
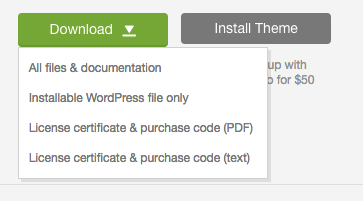
You may either choose to download:
- "All files & documentation" - it's a big archive file that contains all files: theme archive, documentation, slider demos and so on. If you decide to download it, you will need to unzip it first and the crexis.zip file inside is the one you are going to use in further steps.
- "Installable WordPress file only" - as the name says it's just the installable zip archive and it's ready to be uploaded to your WordPress.
Now you may follow the next steps of the tutorial, depending on which way you choose.
The default way
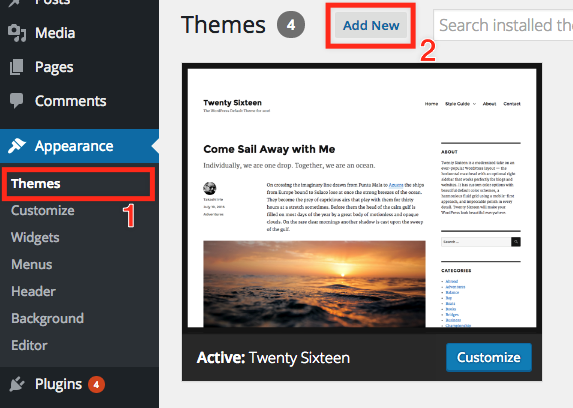
First of all, log in to your WordPress dashboard, navigate to the Appearance / Themes section and click on the "Add New" button:
On a new screen, please press the "Upload Theme" (1) button and the upload form will show up:
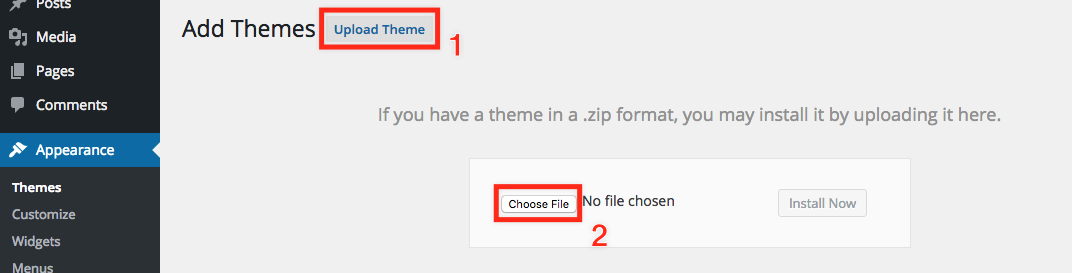
After you click the "Choose File" (2) file, navigate to the theme files you downloaded from ThemeForest and choose the proper zip file to be uploaded:
- If you downloaded the "Installable WordPress file only" then that's the zip file to be downloaded.
- If you downloaded the "All files & documentation" archive file that is ~100mb in size then you need to unzip it first. The crexis.zip file inside is the one to be installed.
After you choose the file, click on the "Install Now" button. If you encounter any troubles during this part, please check this article article.
If everything went well, you should be greeted with a message that the theme was successfully installed. Please click the "Activate theme" button. The theme is now activated. You will now see a notification about required plugins and that is covered at the end of this article.
The FTP way
If you prefer to install the theme using FTP then you are free to do so. You will need an FTP client like FileZilla. If you are not familiar with it, please check this article.
After you are connected to your server/hosting, navigate to your /wp-content/themes/ folder. That is the location where you need to upload the theme folder. The theme folder is a folder you get after unzipping the theme archive file (crexis.zip).
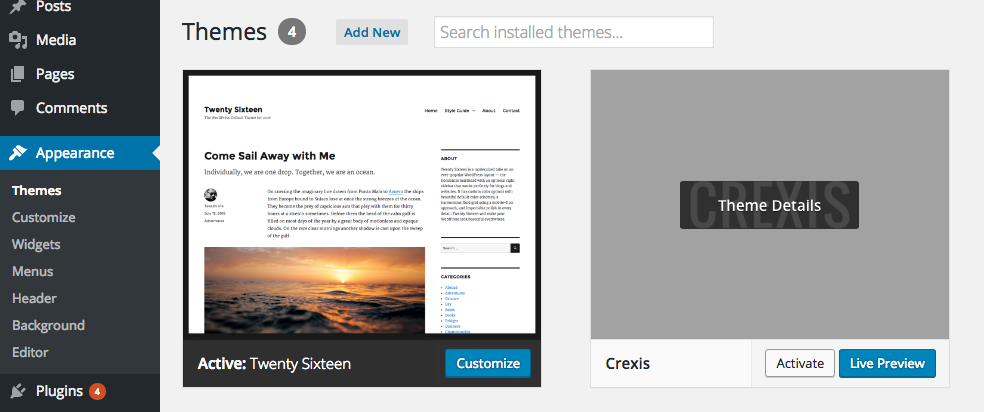
After you the theme folder is uploaded, log in to your WordPress dashboard, navigate to Appearance / Themes and you will see the Crexis theme listed there. Just activate it:
Installing required plugins
After you successfully activate the theme, a notice about required plugins will be displayed:

Simply click on the "Begin installing plugins" button and a new page will be shown:
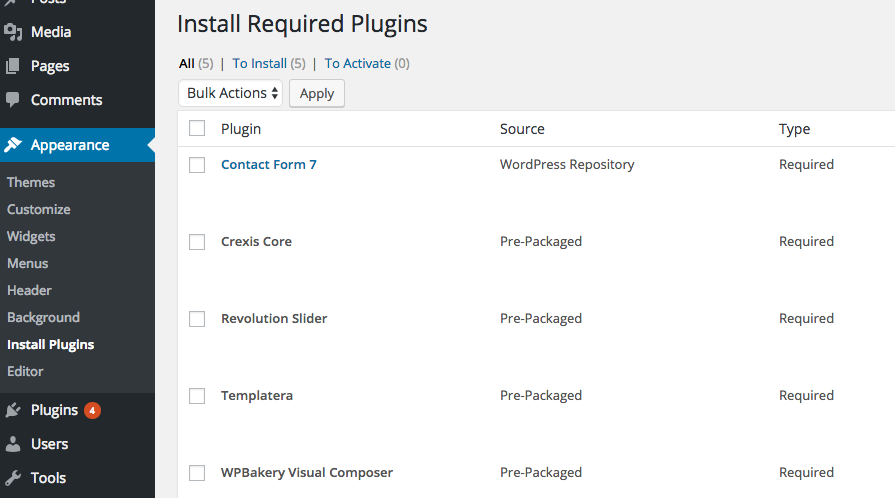
Please check all plugins, click on the "Bulk Actions" select menu, choose "Install" and hit "Apply". All plugins will be now installed. After they are, you will need to repeat the process but this time select the "Activate" option from the "Bulk Actions" select menu and hit "Apply". All plugins will be activated and the theme is now ready to use.